Developing Your First Template in WordPress – lesson 12
In my WordPress course I will often refer to templates as themes and themes as templates, don’t be scared, it’s just that everyone on the Internet still can’t decide, what is the correct name for us, in this course, the two concepts I have named will be synonyms. For now, just don't bother.
WordPress has 2 type of templates:
- Based on parent template. I advise those, who already understands WordPress and wants to learn this kind of template development read the lesson “Child themes in WordPress“;
- Create a template from scratch, we will talk about this further.
There are many developers, who remake other people's topics, change someone else's code, I really don't recommend doing this., since themes can be updated by the site administrator and all your work will simply be spoiled, do better child themes or write your own from scratch.
Starting theme development
To start developing a theme, you must already have WordPress installed and configured.. Create a folder with the name of your future theme in the /wp-content/themes/ folder. Attention The theme folder name must be in Latin and not contain spaces or special characters, You can use underscores to separate words.. I will name my folder my_theme_tmp as this theme can be used to develop your own themes later on.
Full path to site theme
/wp-content/themes/my_theme_tmp

After creating a theme folder, you will need an html template, with whom we will work. I downloaded a free template for myself from the site html5up.net, entitled Halcyonic. You can also download the template from my site.
After downloading the base template, put it in the theme folder as shown in the picture below.
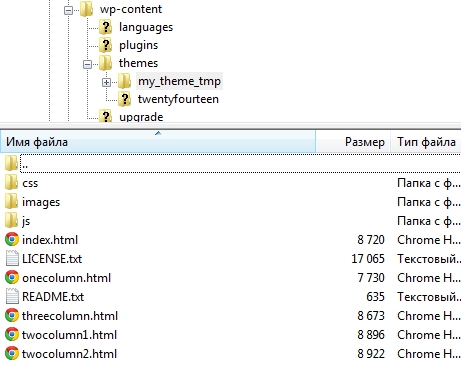
We will delete or change some files during the development of the theme..
WordPress has primary and secondary files, each theme must have a file index.php and style.css. Rename the index.html file to index.php, and also create a style.css file next to it.
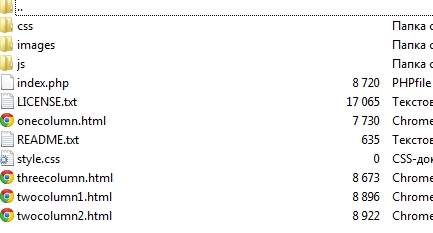
To make our topic visible, and we could activate it, we need to place a special code in the style.css file, to the top of the stylesheet.
Important, this file must always be in the root of the new theme!
/*
Theme Name: My theme tmp
Theme URI: https://wp-admin.com.ua/razrabotka-pervogo-shablona-v-wordpress-urok-11/
Author: wp-admin.com.ua - урок WordPress
Author URI: https://wp-admin.com.ua/
Description: Test theme for developing your own themes on WordPress.
Version: 1.0
*/
This comment is used by wordpress to get basic information and thanks to it you connect your theme to the CMS. This comment could be longer. There is nothing more to say about the structure of the comment, you can open any ready-made theme yourself and see how the style file is arranged. For this file, I think everything is clear.
Activating a New WordPress Theme
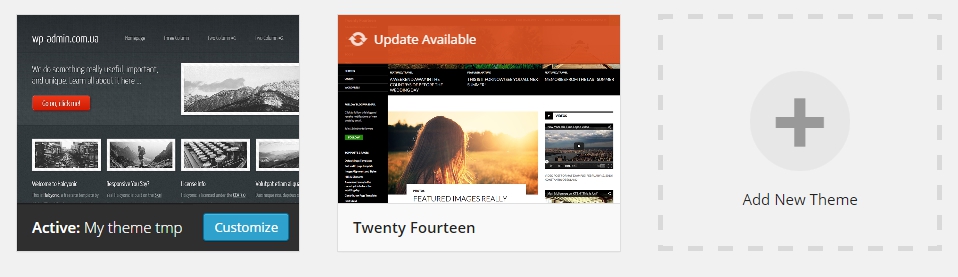
Go to the admin panel and activate the new theme.
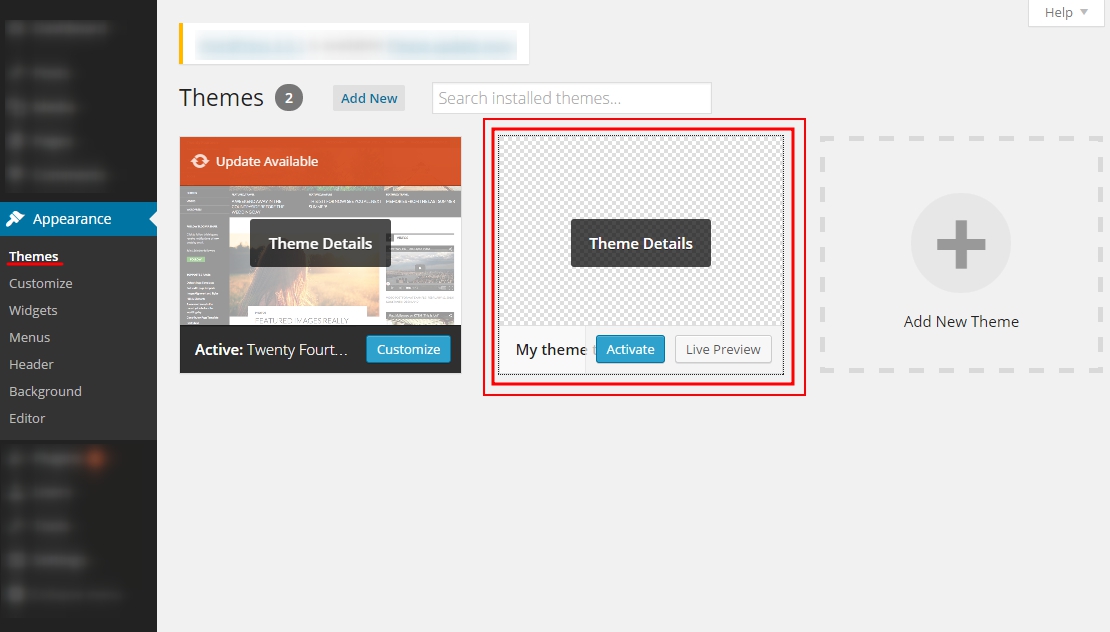
Our theme does not yet have a picture, and in order to add it, you need to create a picture and place it in the root of the theme with the name screenshot.png or screenshot.jpg. Image size is currently 880x600 pixels.. After uploading the image to the theme folder, it was automatically tied up in the admin panel.
For future work, we will also need the functions.php file, it also needs to be created in the theme folder. This is the end of the first lesson on developing themes for wordpress., wait for new lessons, I think you will like.

/*

- Basic web design course;
- Site layout;
- General course on CMS WordPress and continuation of the course on template development;
- Website development in PHP.