Connecting Styles, scripts and pictures WordPress – lesson 13
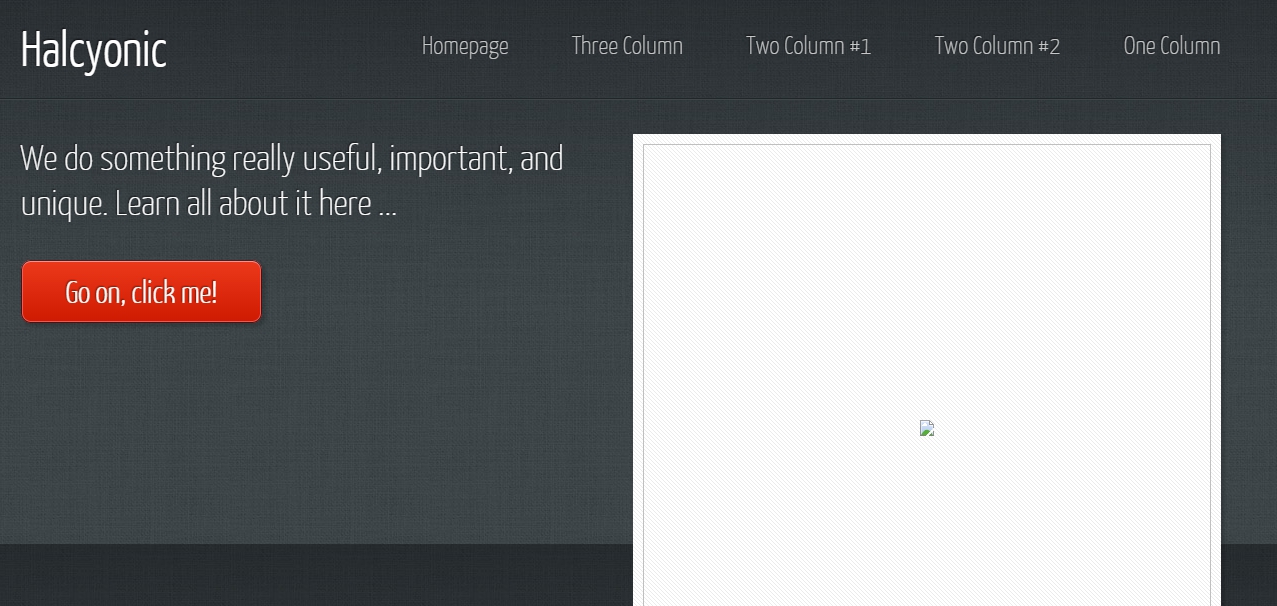
If you did everything right in the last lesson, then you most likely displayed data from the index.php file on the screen, but styles were not loaded. Now, after activating the template, I got this picture:

The problem is, that our template has incorrect style and image addresses, let's fix this and put the appropriate functions in the right sections of code in the index.php file at the root of our theme.
Working with the template after connecting and activating
I don't know how you, but I had an extra piece of code and I deleted it, you'll do it right too, so that this area does not interfere with us.
<!--
	Halcyonic by HTML5 UP
	html5up.net | @n33co
	Free for personal and commercial use under the CCA 3.0 license (html5up.net/license)
-->
Let's start adding features
Adding the function of specifying the page language to the tag <html>
<html <?php language_attributes(); ?>>
Between tags <title></title> paste the function like below.
<title><?php bloginfo('name'); ?><?php wp_title('|'); ?></title>This code should be pasted, even if you continue to use plugins to fill in the title and description.
Further, to make a general encoding for the blog, it is better to use this entry:
<meta charset=”<?php bloginfo( ‘charset’ ); ?>”>
Replacing our standard encoding from the template:
<meta http-equiv=”content-type” content=”text/html; charset=utf-8″ />
If the type of encoding does not suit you, you can expand it a little with the following entry. I would leave it like this, since our template had a similar view.
<meta http-equiv=”Content-Type” content=”<?php bloginfo(‘html_type’); ?>; charset=<?php bloginfo(‘charset’); ?>” />
Lines with keywords and description can be safely deleted, as on the site we will use special plugins. Delete lines:
<meta name="description" content="" />
<meta name="keywords" content="" />
Next, we need to specify the correct path to the script files, add a special function to the address of each script, which returns the address of the template folder. This is necessary if you suddenly change the name of the template folder, and we will need it in the future.
Change part of the template code:
<script src="js/jquery.min.js"></script>
<script src="js/skel.min.js"></script>
<script src="js/skel-layers.min.js"></script>
<script src="js/init.js"></script>
For the following code:
<script src="<?php echo bloginfo('template_url'); ?>/js/jquery.min.js"></script>
<script src="<?php echo bloginfo('template_url'); ?>/js/skel.min.js"></script>
<script src="<?php echo bloginfo('template_url'); ?>/js/skel-layers.min.js"></script>
<script src="<?php echo bloginfo('template_url'); ?>/js/init.js"></script>
Similarly, you need to include styles:
  <link rel="stylesheet" href="<?php echo bloginfo('template_url'); ?>/css/skel.css" />
  <link rel="stylesheet" href="<?php echo bloginfo('template_url'); ?>/css/style.css" />
  <link rel="stylesheet" href="<?php echo bloginfo('template_url'); ?>/css/style-desktop.css" />
<!--[if lte IE 9]><link rel="stylesheet" href="<?php echo bloginfo('template_url'); ?>/css/ie9.css" /><![endif]-->
<!--[if lte IE 8]><script src="<?php echo bloginfo('template_url'); ?>/js/html5shiv.js"></script><![endif]-->
After setting up styles and scripts, your site should start to take on a human look..
It remains to correctly connect the pictures in the template, so that they are well displayed and do not spoil our appearance.
You can temporarily use the same function to customize pictures., which we used to include styles and scripts.
<?php echo bloginfo('template_url'); ?>For a quick replacement, I used the notepad ++ program, as well as a tool search/replace.
Wanted:
img src=”images
Replaced with:
img src=”<?php echo bloginfo(‘template_url’); ?>/images
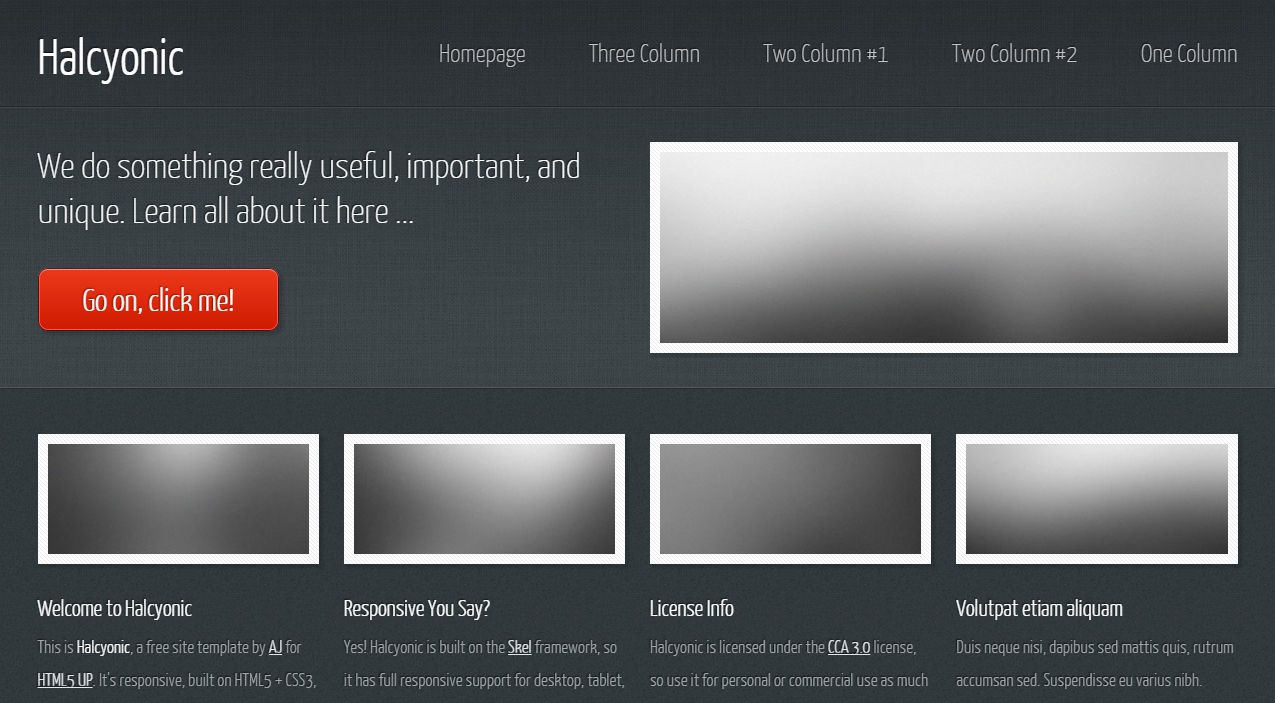
If everything was done right, you will have pictures after saving.
After these steps, my template looks like this:
Add to the code before the closing tag </head> function <?php wp_head(); ?>, this function serves as a label, it adds javascript and styles to the template if necessary, which are needed for CMS WordPress and plugins that you will install.
Also, the WordPress engine needs to add classes to the template code, which can later be used to style individual sections. To add these classes use the following code in your template:
<body <?php body_class( ); ?>>
The $class variable can contain additional classes that you yourself want to add.. More about the function can be read here.
An example of using a function with additional classes.
<body <?php body_class( ‘class-name’ ); ?>>
This lesson is over, further will be even more interesting.

/*

- Basic web design course;
- Site layout;
- General course on CMS WordPress and continuation of the course on template development;
- Website development in PHP.