Displaying navigation for a single post in WordPress – lesson 21
In this tutorial, we'll talk about how to navigate between posts., if you are on record (template single.php).
First, open the single.php template and add to the template code, to the right place navigation code.

Code for inserting navigation into the template:
|
1 2 3 4 5 6 7 |
<div id="single-nav" class="clearfix"> <div class="prev"><?php next_post_link('%link', '<span>%title</span>', false); ?></div> <div class="next"><?php previous_post_link('%link', '<span>%title</span>', false); ?></div> <div class="prev-responsive"><?php next_post_link('%link', '<span>Previous</span>', false); ?></div> <div class="next-responsive"><?php previous_post_link('%link', '<span>Next</span>', false); ?></div> </div> <!-- /single-nav --> |
After adding the navigation code, we need to make it beautiful and add styles to the /wp-content/themes/my_theme_tmp/css/style.css file.
|
1 2 3 4 5 6 7 8 9 10 11 12 13 14 15 16 17 18 19 20 21 22 23 24 25 26 27 28 29 30 31 32 33 34 35 36 37 38 39 40 41 42 43 44 45 46 47 48 49 50 51 52 53 |
/* Next/Previous Navigation */ #single-nav{ font-size: 12px; height: 60px; line-height: 60px; background: #969696; } body #single-nav a{ display: block; height: 60px; line-height: 60px; padding: 0 25px; color: #fff; font-size: 14px; text-decoration: none; } #single-nav a:hover{ background: #737373; } #single-nav .next, #single-nav .prev, #single-nav .prev-responsive, #single-nav .next-responsive{ width: 50%; float: left; } #single-nav .next, #single-nav .next-responsive{ margin: 0; float: right; text-align: right; } #single-nav .prev a span, #single-nav .prev-responsive a span{ display: block; padding-left: 17px; background-image: url("../images/arrow-left.png"); background-position: left; background-repeat: no-repeat; } #single-nav .next a span, #single-nav .next-responsive a span{ display: block; padding-right: 17px; background-image: url("../images/arrow-right.png"); background-position: right; background-repeat: no-repeat; } .prev-responsive, .next-responsive{ display: none; } /* Next/Previous Navigation */ |
For a beautiful display of arrows, we need to upload two images to the /wp-content/themes/my_theme_tmp/images/ folder… .
Images for navigation:
![]()
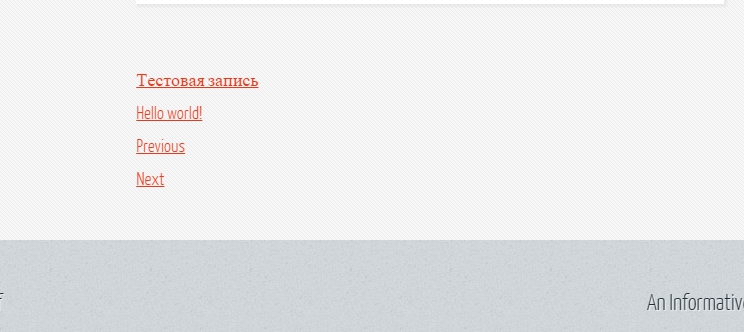
Before navigation styling:
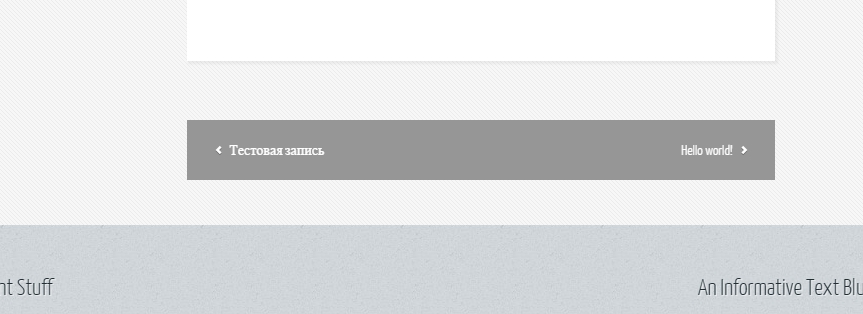
After styling the navigation:
That's all there is to it, as we see, our favorite content management system has long taken care of that, so that developers do not have to write navigation with the name of the previous and next article from scratch.
Good luck in learning and developing user-friendly and beautiful sites, and from me, as always, the source code of the topic at the moment.
![]()
In the next lesson, we'll look at, how to make templates for pages and create a site menu.


- Basic web design course;
- Site layout;
- General course on CMS WordPress and continuation of the course on template development;
- Website development in PHP.