Creating your own data types. Types plugin for WordPress.
As you know, WordPress initially has two main types: posts and pages..

Adding data types without code
Today I will tell, how to add new data types, without going into the source code CMS and completely unaware API WordPress.
Maybe, one of the most useful plugins for WordPress this is a plugin Types developed by the development team from the site wp-types.com. To get started, you can go to the site and download the plugin like the developers themselves, and from the official WordPress repository.
https://wordpress.org/extend/plugins/types/
After downloading the plugin and installing it, activate it. A new item types will appear on the left in the menu
![]()
To get started, let's go to Types -> Individual types and systematics and click on the button Add custom post type then fill out the form. Let's try in WordPress make a small online storefront for publishing goods on the site.
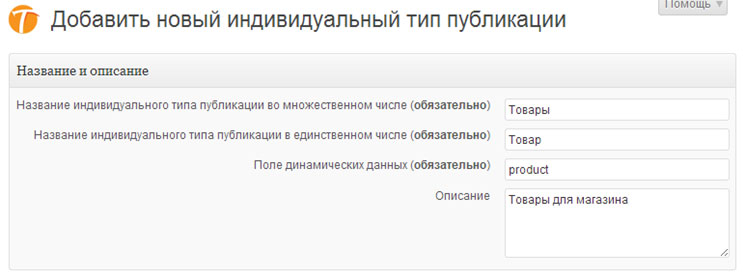
After filling, go down below and configure:
- Metabox Options Viewability leave as is.
- Metabox Options Select taxonomists. In our type, categories and tags will be turned off.
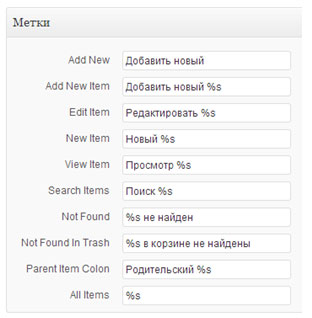
- In metabox Tags you can change the spelling of standard commands to your language.
- Display Sections:
- header - always leave it on, even if you don't need to display it, this field is useful for finding the desired material in the admin panel.
- Editor - visual editor, standard field for data types in WordPress. In our case, this field is not needed., turn it off.
- Comments – for Internet showcase, they will be helpful, especially if there are few descriptions for the goods. Comments help make pages more unique.
- Editions revisions are copies of a document, which are saved automatically or at the time of publication and updating of the material on the site. Think, that the material in our showcase will not be updated often, so we can leave revisions disabled.
- Other items except Miniatures below we do not need. Put a tick in front of the item Thumbnail.
- Individual fields – additional fields for displaying additional information, we'll talk about them later.
- extended - advanced settings can also be left as is.
After all the settings, click on the button Save custom post type at the bottom of the screen.
![]()
After saving, a new data type will appear in the administrator menu Products.
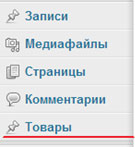
As we see, next to the type in the menu we have a standard icon, it can be changed in the settings. You can also change the position of the item in the admin menu there..
![]()
The icon must be inserted in the format ico or png.
![]()
If we now go to the menu Products -> Add new, we will see that we only display the name of the product. Since there will be a lot of goods, it would be nice to divide them into groups, for this:
- Go back to the menu Types -> Individual types of publications and systematics.
- Add individual taxonomy.
- Fill in the form fields and select the type of publication Goods.
- Renaming labels.
- Leave advanced settings as is..
- Preserving taxonomy.
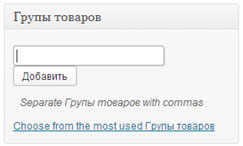
After completing the steps, go to Administrator Menu -> Products on the right we will have another metabox Product groups, where you can set categories in the form of key phrases. This metabox is similar to Tags.
If everything worked out, then we continue.
The next step will be adding a few extra fields to the type. Let's list, what are these fields:
- Product Name
- Price
- Product description
While these fields will be enough for us.
We go to the point Types -> Individual fields. In the window that appears, enter Field group header and Group Description.

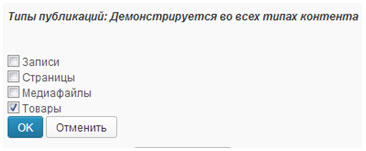
In the meta box below, you must specify Where to display this group. Under paragraph Publication types press the button Edit and mark the type Products. Here you can mark several types, if similar fields are needed in the selected types.
Terms and Templates do not choose.
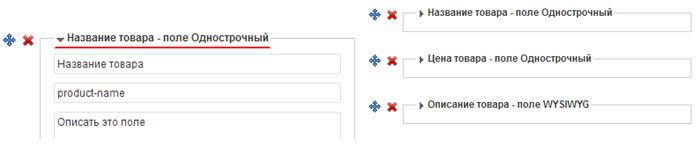
On the right there is a group called Available fields you must choose for name and price goods Single line fields, and forProduct Descriptions choose WYSIWYG.
On the left you will see fields with settings:
- Enter field name - enter the name of the field, for example Product Name.
- Enter dynamic data field in field – here you need to enter a unique field name in English, let's call product-name.
- Describe this field - can be left blank, since everything is clear from the field name.
- Simple or repeating field? - in our case, all fields can have only one value. This setting is very handy., if you need to upload several images and then display them on the page.
- Necessarily - check the box next to the fields, which we consider obligatory.
After setting all three fields, you can click on the arrow next to the name and collapse the field settings.
There are two more options for deleting a field cross and to sort fields arrow. Put the fields in the right order and click Save. After saving, go to the created type of publication Products -> Add new. If everything was done correctly, you will have new individual fields.
Go to the Products menu > Product groups -> Let's create product groups.
- Cameras
- Tablets
- laptops
In each group, for convenience, create by 3 goods with description and thumbnails.
Next, you need to display our products on the screen and for this we need to enter the menu Appearance – > Menu and add a new menu called Showcase.
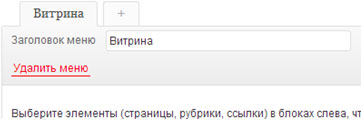
Next, in the left column we find the metabox Product groups,if there are no product groups, then you can enable them at the top in the tab Screen settings. Select the previously created product groups laptops, Tablets, Cameras and add them to the created menu area. Don't forget to press the button save menu.
To display the menu, go to the item Appearance -> Widgets and drag the widget to the sidebar of the site Custom Menu. Enter a title Product categories and select menu Showcase as below picture.
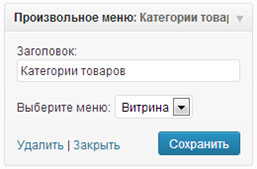
After all actions on the site, our menu will appear.
Now you need to create a template file for the taxonomy output and give it a name
taxonomy-{taxonomy}.php
Instead {taxonomy} content needs to be inserted Dynamic data fields from our systematics Product groups.
In the template, you need to add the structure from the file in the task.
![]()
The structure needs to be changed according to your field settings.
Consider all the functions that were used in the template:
single_tag_title() - Displays the title of the current label, if the label's archive page is being viewed.
WP_Query() – by setting various parameters, you can select and sort records. Looks like a database query. You can read more on the wordpress developers website in the codex., true only in english WP_Query(). I advise you to look at the function, very useful.
$wp_query->query_vars - returns an array of query variables. To understand how this design works, uncomment it in the template file and see the result.
|
1 |
?><!--pre><?php print_r( $wp_query->query_vars) ?></pre--><?php |
have_posts() - checks, does the current WP query have results to display.
the_post() - counter for cycle.
the_content() - the content of the post or post, since we did not include the editor, then this function does nothing.
get_post_meta($post_id, $key, $single) - returns data from a custom field. Each field, which we created for the type has its own custom field, which can be output through this function.
$post_id (number) (required) – Post ID, arbitrary fields of which you need to get.
$key (line) (required) – custom field name, the value to get.
$single (logical) – if you set the parameter to true, then the function will return a single value in the form deadlines. If the parameter is equal false or will not be installed, then the function will return array custom field values.
However, if the custom field value contains a serialized array, then the value true will return, normal array, and if you specify false, then it will return an array in the element (for example [0]) which will be the same serialized array. I.e. in this case, the parameter works “vice versa”.
Default: false
get_permalink() - link to post.
the_title_attribute( ‘echo=0’ ) - link attributes.
the_post_thumbnail(‘thumbnail’) - thumbnail size thumbnail.
Let's talk in more detail about where I took the labels for the function get_post_meta(). Let's take for example:
|
1 |
get_post_meta($post->ID, "wpcf-product-name", $single = true); |
Let's go to the menu Products and open one of the products for editing, select at the top of the screen Screen settings and put a check mark next to the item Custom fields, a metabox with the same name will appear.
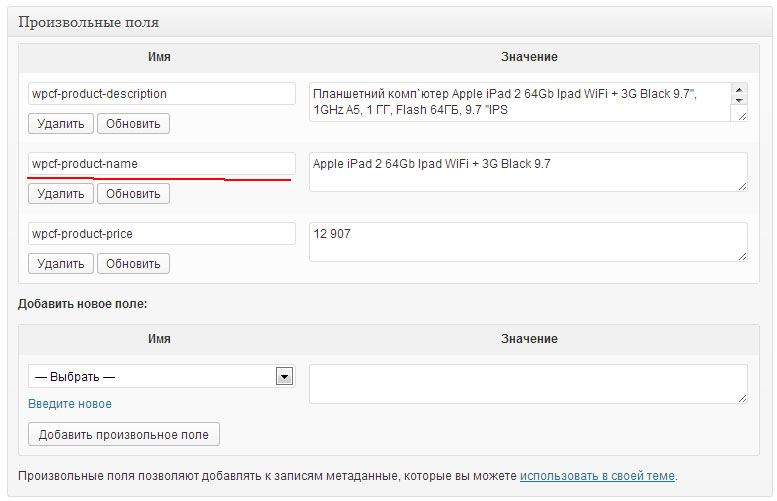
Looking at the picture, everything will become clear, you may have other names, therefore, it is necessary to carefully compare the custom fields from the metabox with those, what is in the template file. If you make it right, then you should change the output of goods type materials.
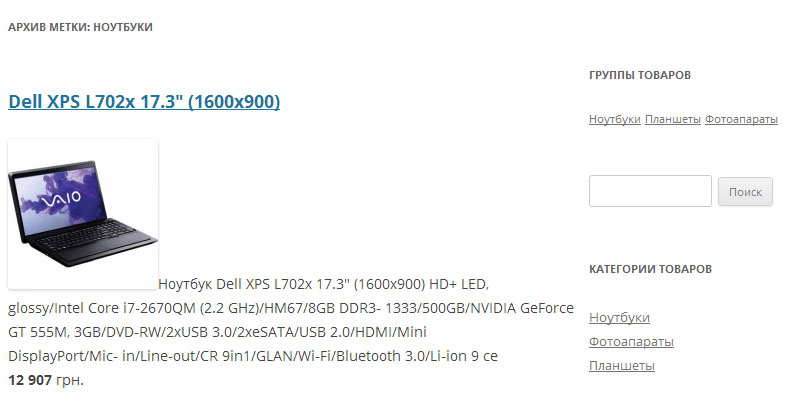
If you also have a product, it means you did everything right and all that remains is to style the output using styles. If you do not want to make a template manually, then you can automate the output of content without interfering with the code. Conclusion can be done using the plugin views , the plugin, although paid, is for those who are constantly developing on WordPress this plugin can speed up the work in 3-4 times.

/*

- Basic web design course;
- Site layout;
- General course on CMS WordPress and continuation of the course on template development;
- Website development in PHP.


Hello, this plugin can sort tags?
Example:
——————————
Genre: Comedy, action movie
actors: Bruce Lee
——————————
That is (comedy, action movie, Bruce Lee) these are labels, which are displayed in different places, you can implement such a sorted output on labels on wordpress?
I don't quite understand what it is “labels that appear in different places”, but if you are talking about the fact that by labels you can implement the output of records, that yes.
In your case, I would make a separate taxonomy for Genre and Actors and then just make the necessary query to the database. Separation labels will be for you in further development.
You can also use the views plugin.
Where to save taxonomy file-{taxonomy}.php ?
wp-content/themes/theme name/here
wordpress will pick up this file automatically